How to create a custom project template for Visual Studio?


Although I primarily work on web projects, I do create many console applications, too. I often write them to assist me in the development process (e.g. to test code snippets or even to develop whole services before implementing them in the web project), but also to automate boring, repetitive tasks like ...
- Building and deploying my static website.
- Synchronizing app permissions with the Customer Identity (CIAM) provider.
- Generating bearer tokens (for third-party APIs).
- Generating whole C# classes (code generation).
- Calculating the weights for my next training session. 💪
Sometimes it is great to have additional base functionality like dependency injection and being able to read configuration data from an appsettings.json. Unfortunately, this does not come out-of-the-box with Visual Studio's default "Console App" template. Instead, you need to add the functionality yourself.
So, why not automate the creation of those enhanced console applications, too? – Visual Studio gives you the possibility to export every project as a project template. This is a great starting point that seems much easier than creating the whole template yourself.
On GitHub, you can find a repository of mine, which includes the features mentioned above. To create a project template from it, just follow these steps:
- Clone or download the repository.
- Open the solution in Visual Studio (2022).
- Click on the "Project" menu and choose "Export Template...".
- Choose template type "Project template" (default).
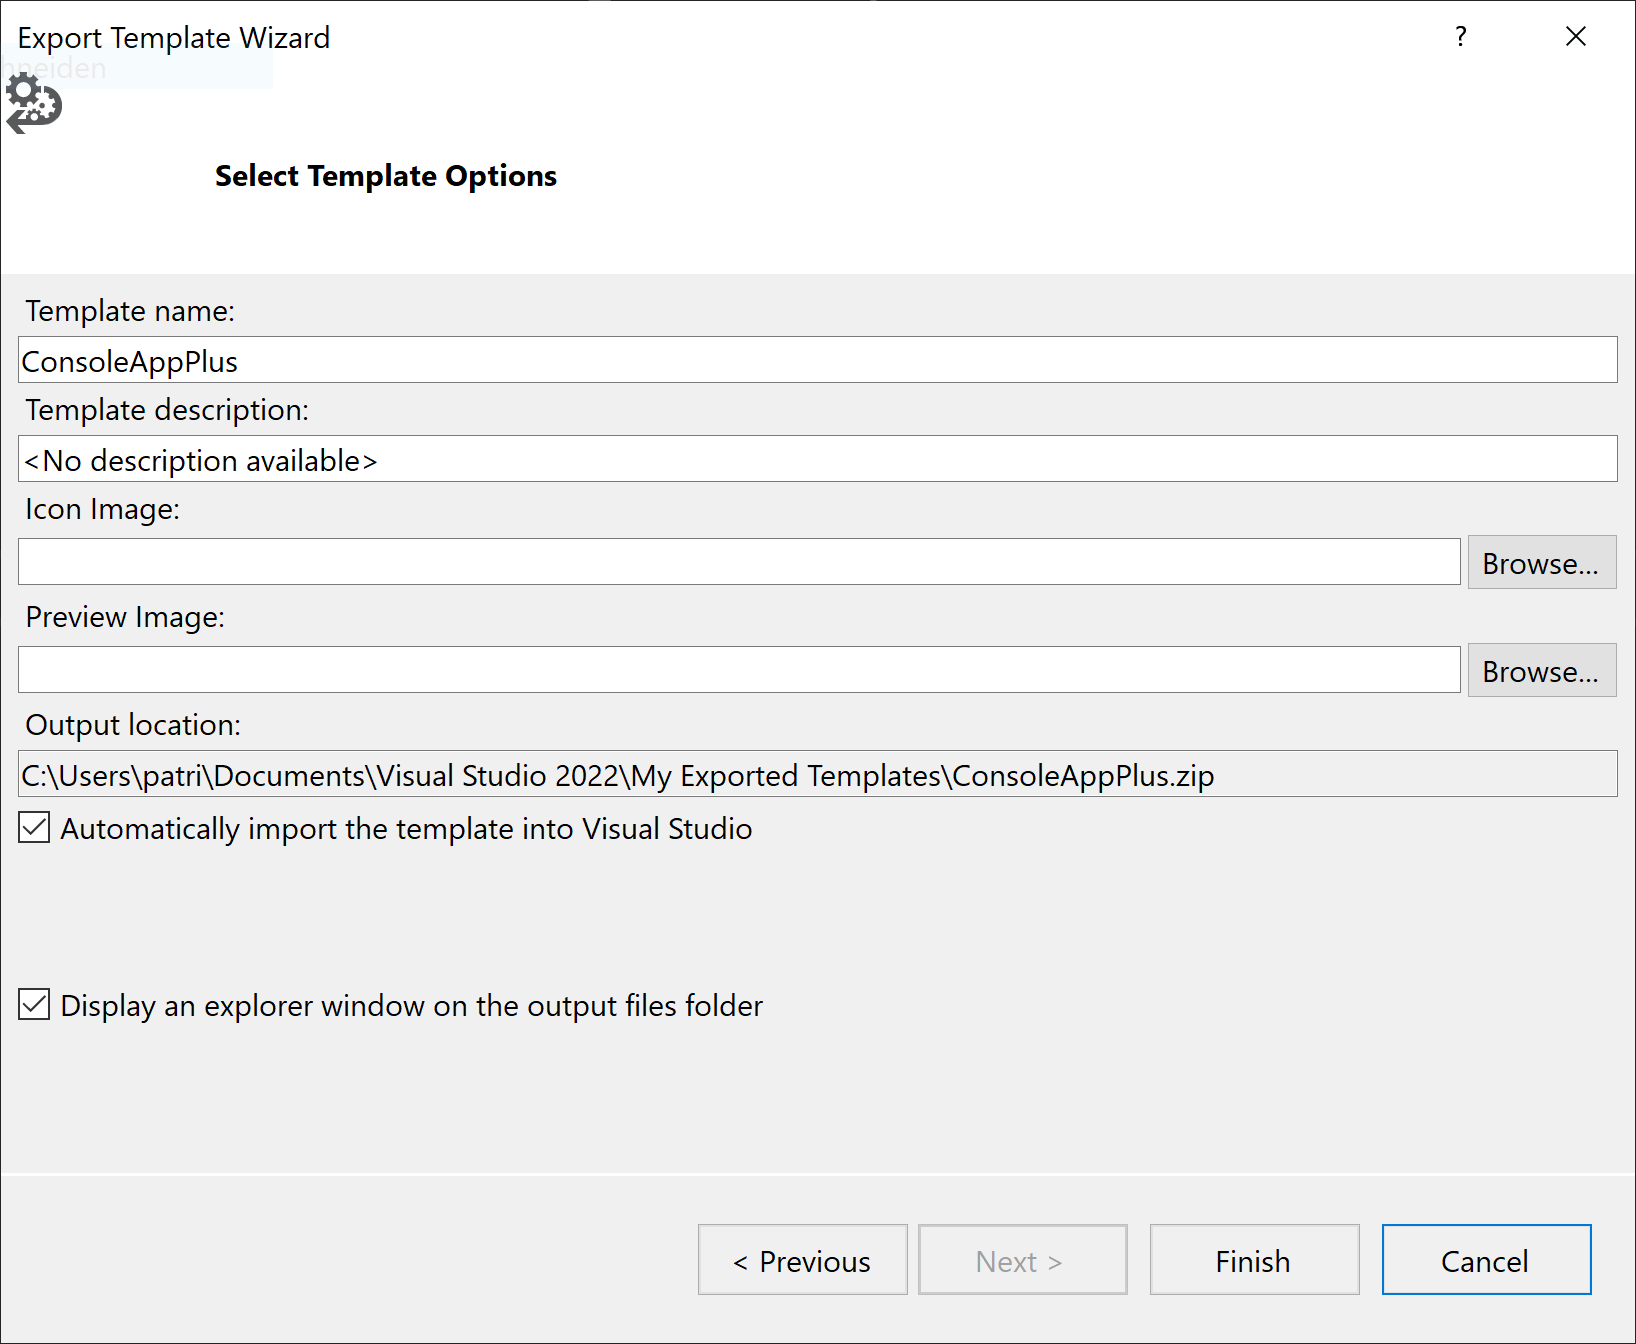
- On the "Template Options" page, you can keep the default settings (see below). If you like, you can add a nice description and an icon.
Afterwards, your new project template should show up in Visual Studio. Unfortunately, you might quickly notice that it is missing the usual tags like "C#", "Console" and so on. To fix that, you could manually insert the following tags into the file "MyTemplate.vstemplate" (which is part of the zipped project template and should be located in "%USERPROFILE%\
<TemplateData>
    <LanguageTag>csharp</LanguageTag>
    <PlatformTag>windows</PlatformTag>
    <PlatformTag>linux</PlatformTag>
    <PlatformTag>macos</PlatformTag>
    <ProjectTypeTag>console</ProjectTypeTag>
</TemplateData>
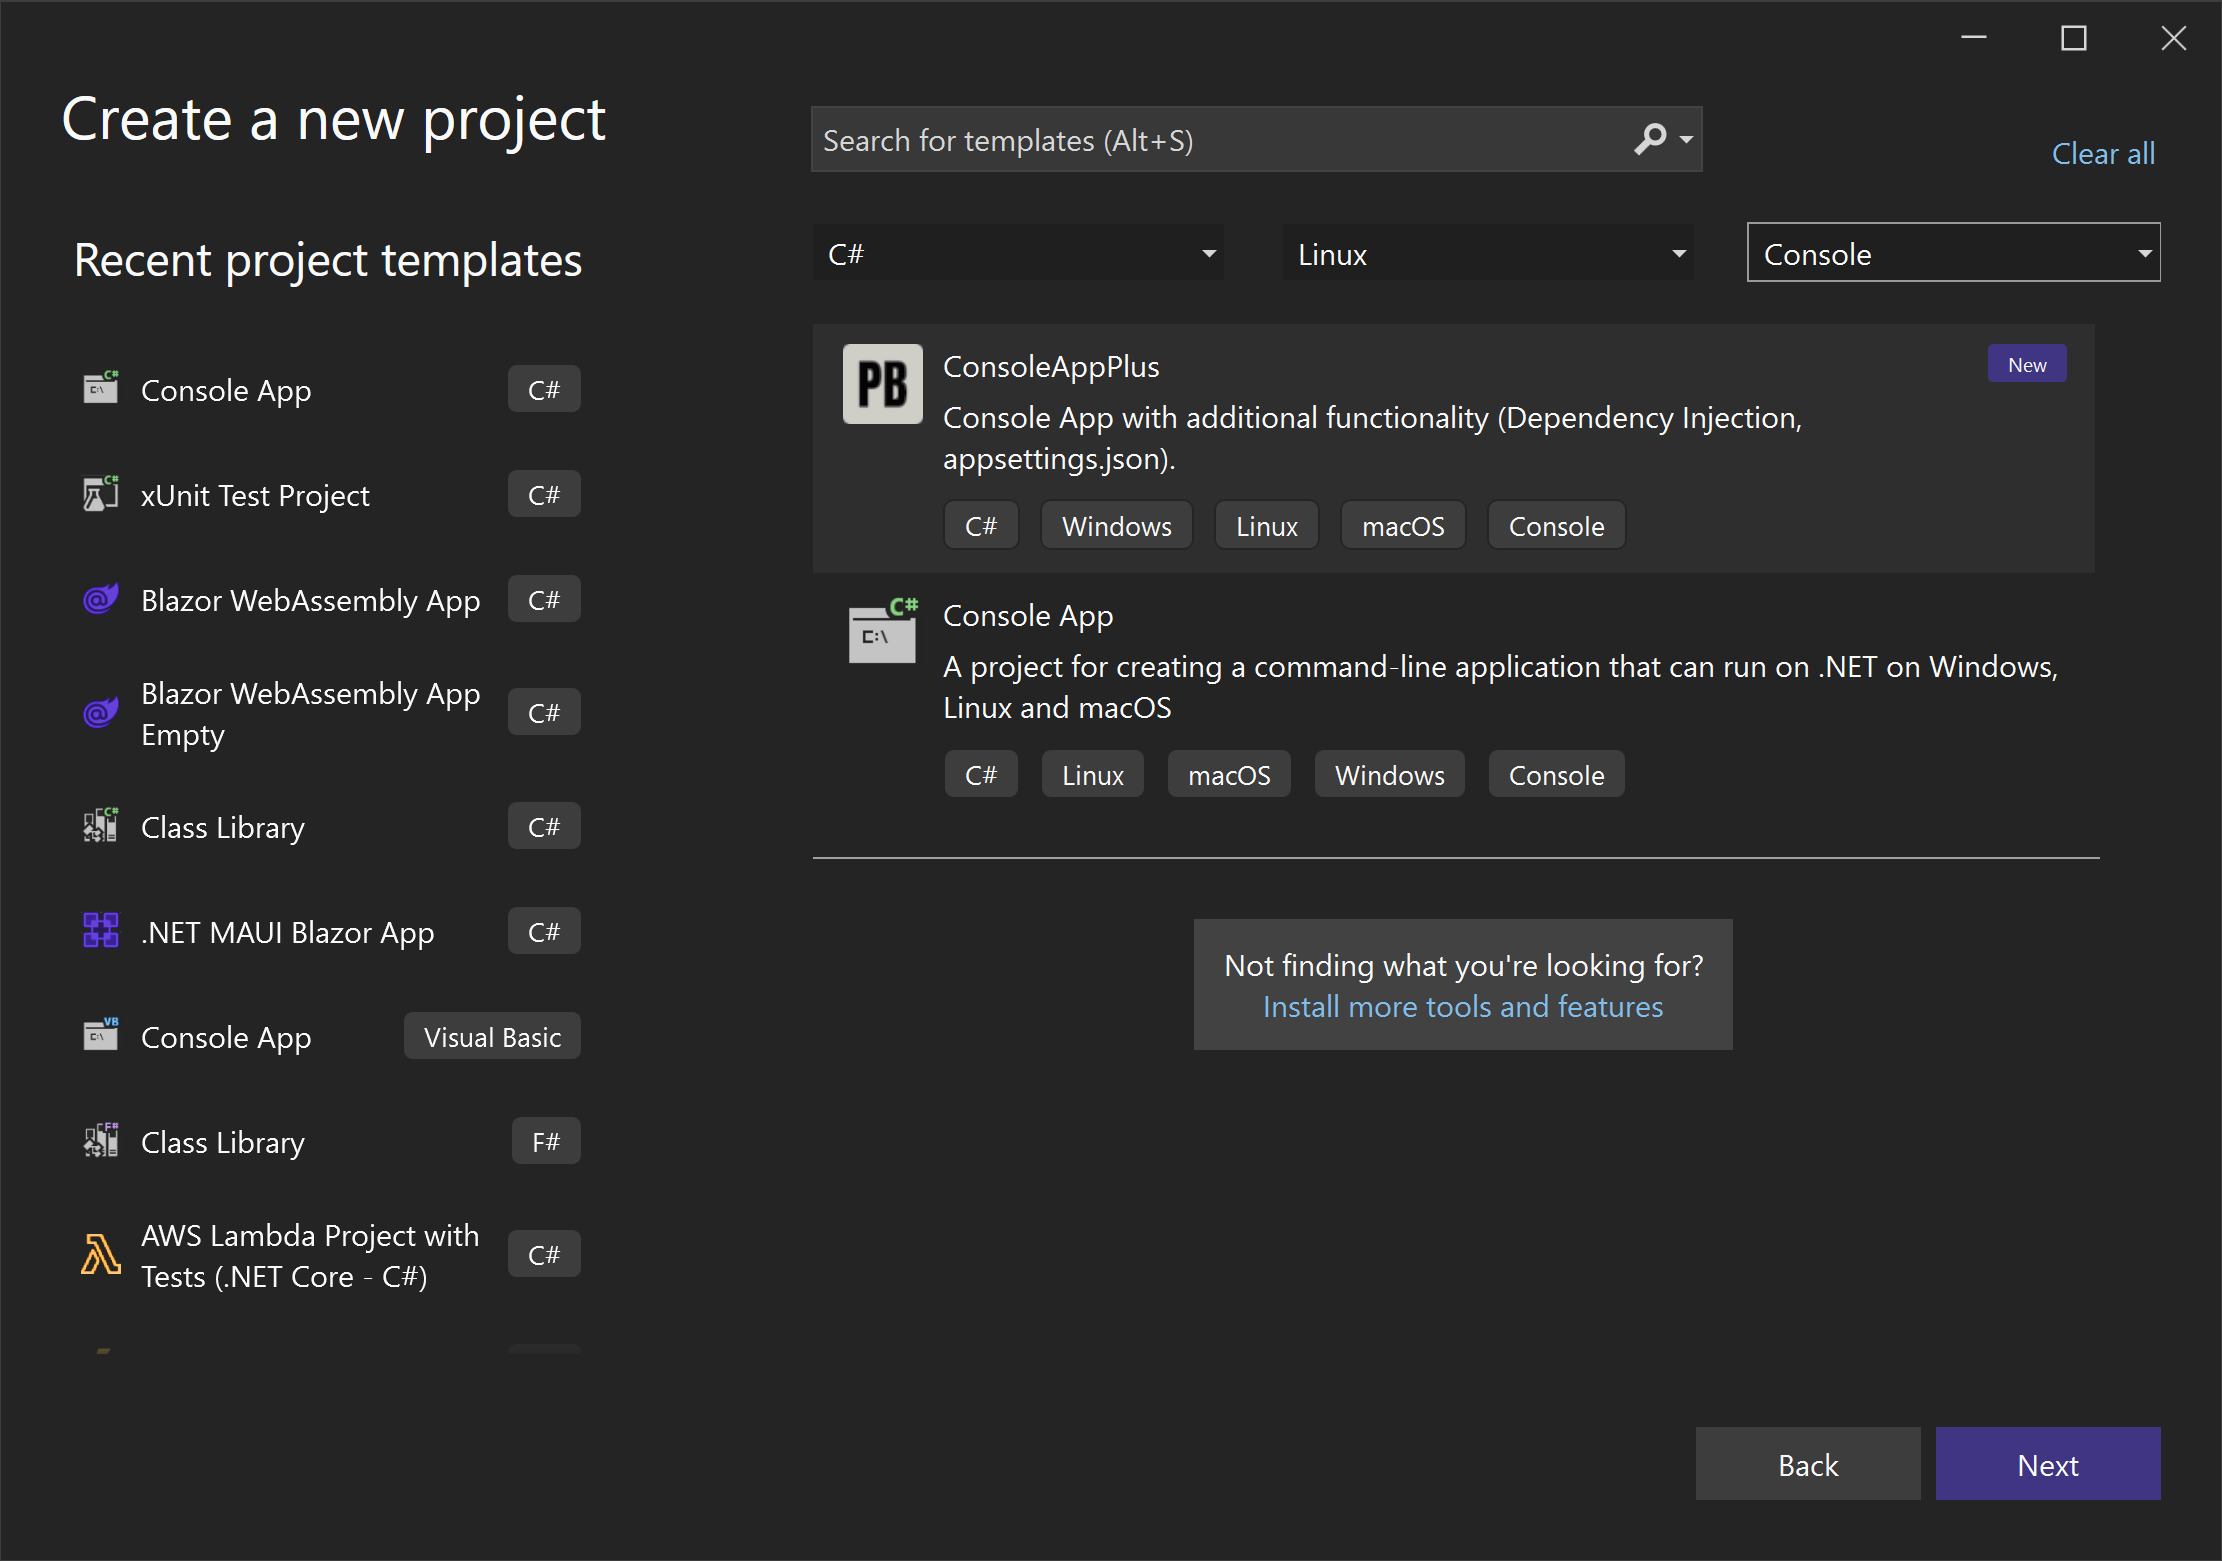
The final project template then should look something like this: